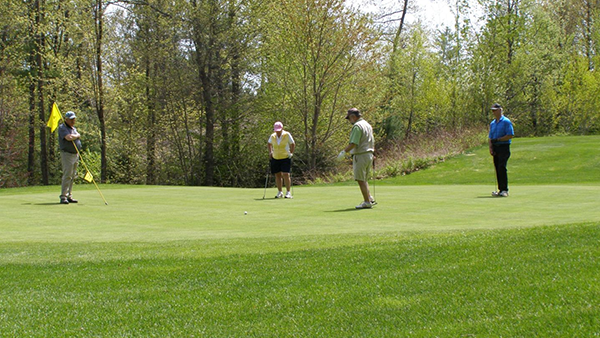
Course Tips
Course Tour
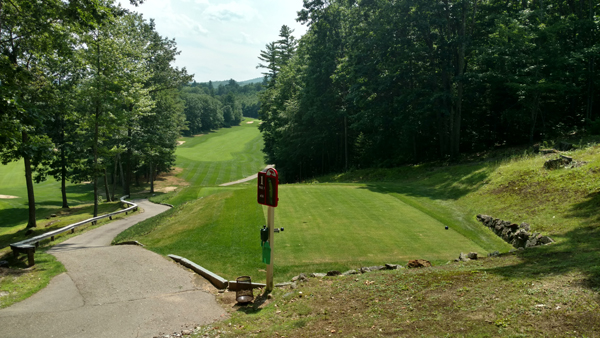
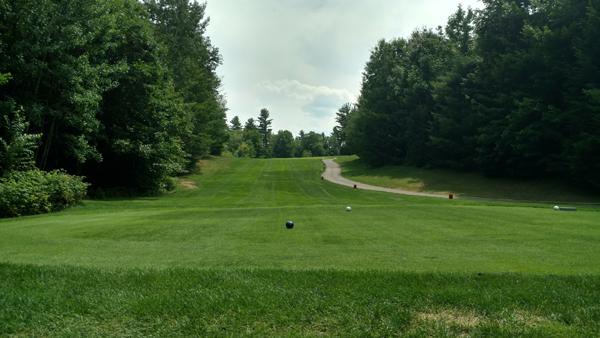
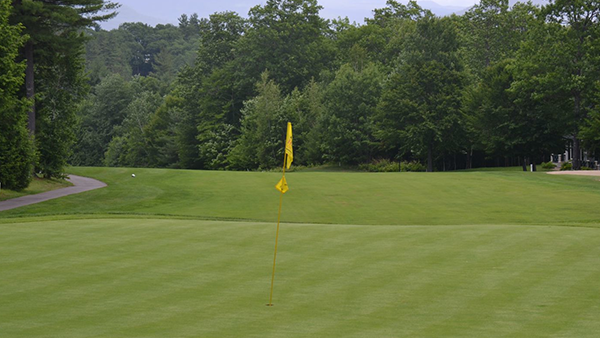
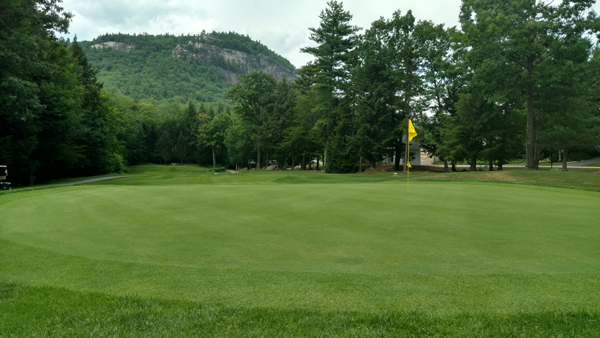
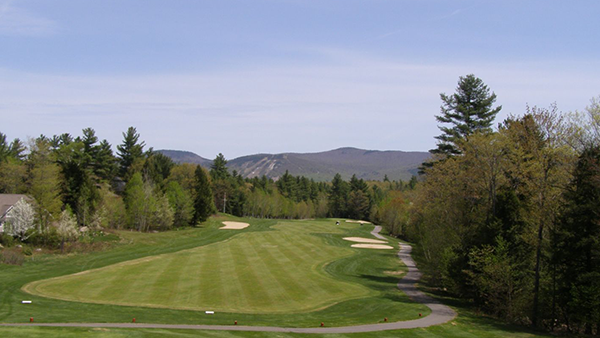
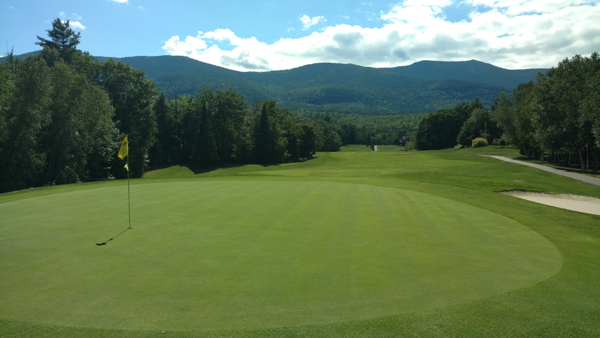
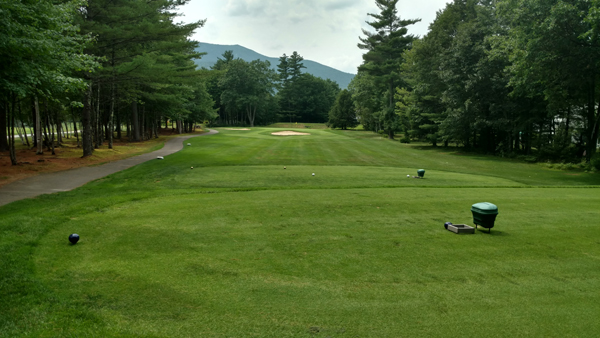
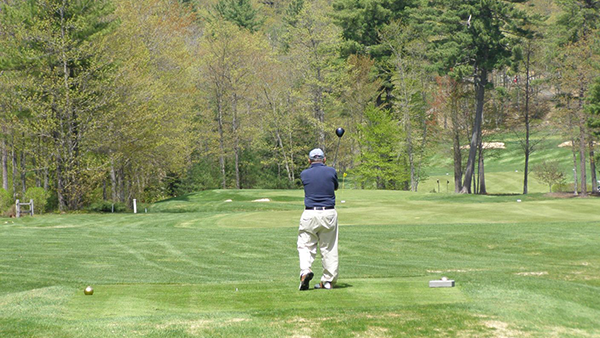
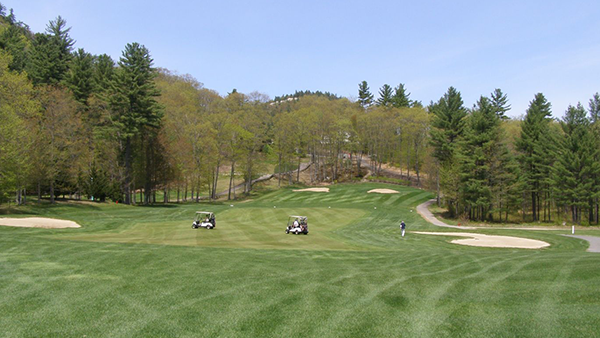
Hole 1
Scenic Vista – Par 5


Description
Right out of the gate, the first hole is a straight away par 5. All four tees are elevated giving you an impressive view of the hole. With woods on the right and homes to the left, this hole can be quite challenging when coupled with the starting elevation. After making it down to the fairway you will be hitting back up to an elevated green that is fronted by 3 traps. No problem shooting a little long on this one!
Stats
Blue: 485
White: 446
Green: 408
Gold: 406
HCP: 1
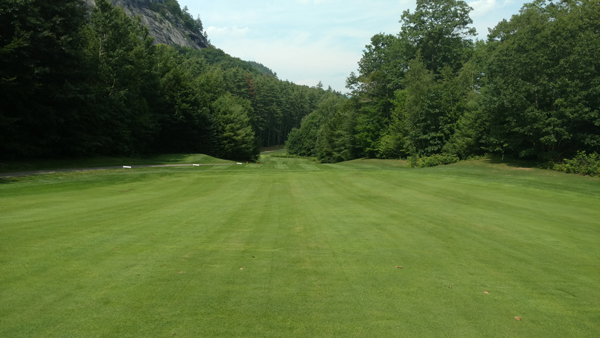
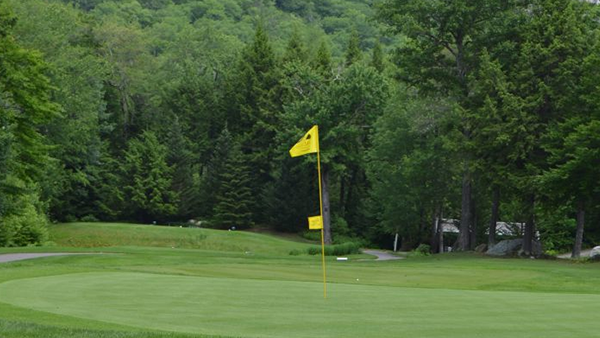
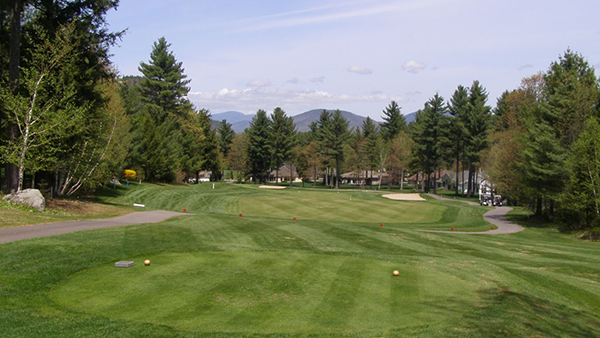
Hole 2
Plateau – Par 4
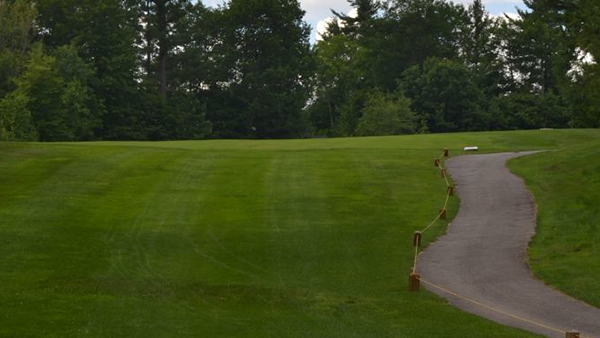
Description
Hole 2 is a slight dogleg to the right, with woods on the right. Hitting up hill, you will want to keep the ball in play on this one. You won’t necessarily need your driver, but you are going to want to put something out there that will keep you safe, such as a long iron or fairway wood. The forward tees have a definite advantage as you can see the green from this tee box. The green is elevated. You will want to hit a high approach onto this green. You are going to think that you have breaks on this hole while putting, but it may not break as much as you are expecting. The green does slope a bit back to the front. Be sure to turn around midway to look back, as you can see down into the first hole. You will be admiring an amazing view of both White Horse and Cathedral Ledges at this point. On the road going to the third hole, make sure that you turn around to see if you can spot the white horse of White Horse Ledge.
Stats
Blue: 308
White: 304
Green: 218
Gold: 216
HCP: 5
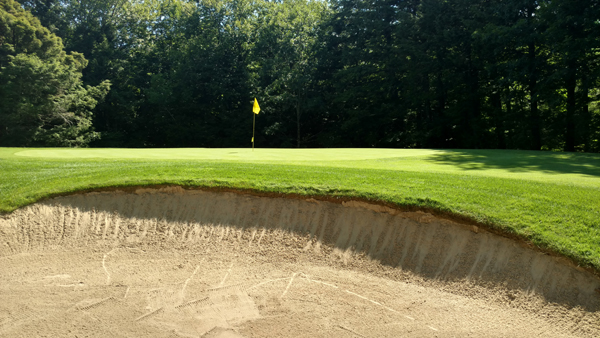
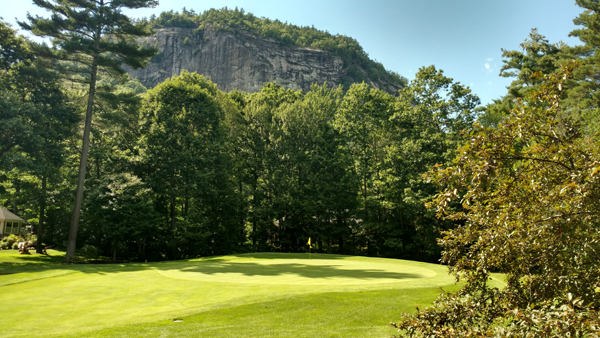
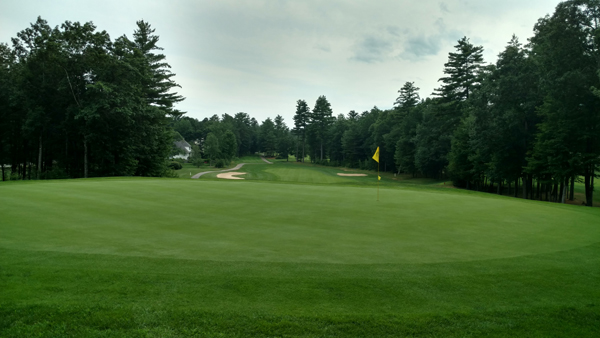
Hole 3
Covered Bridge – Par 3


Description
From the front tees, the pond will not come into play. You will have a nice clear shot to the pin. From the back two tees you will need to hit over the pond. Everything on this tee shot will want to break right down to the woods; where the bears live. Surprisingly, it is a bit of a tricky green. This third hole is a good challenging par three that is a bit tough to hit. Do not be afraid to fade the left side of this green. There is a sand trap in the back if you use too much club.
Stats
Blue: 163
White: 156
Gold: 101
Gold: 99
HCP: 15
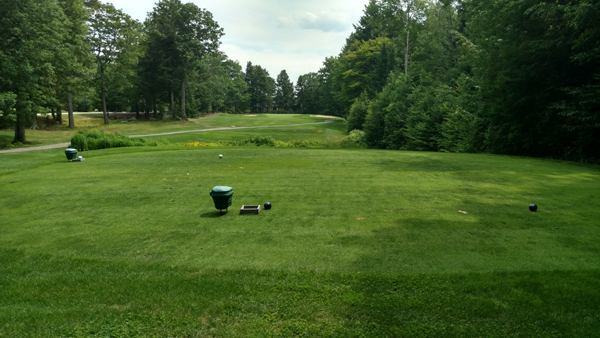
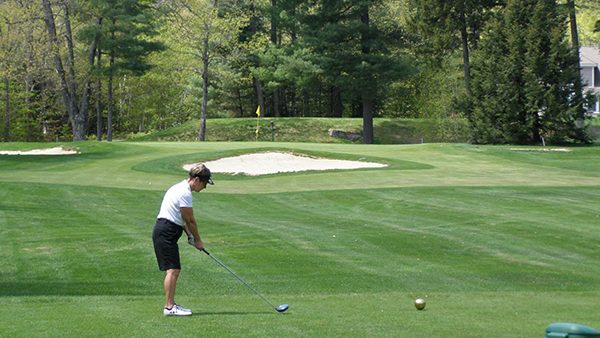
Hole 4
Bear’s Brook – Par 4


Description
The fourth hole is driveable if you are accurate. Looks like an easy hole but do not be deceived. You might want to resist using your driver unless you are very accurate with it. Consider a mid-iron to get out to the 100-yard mark. This green slopes back with a brook just behind. Play a high shot onto the 4th green. The back right of the green slopes dramatically, so beware.
Stats
Blue: 281
White: 249
Gold: 227
Gold: 225
HCP: 13
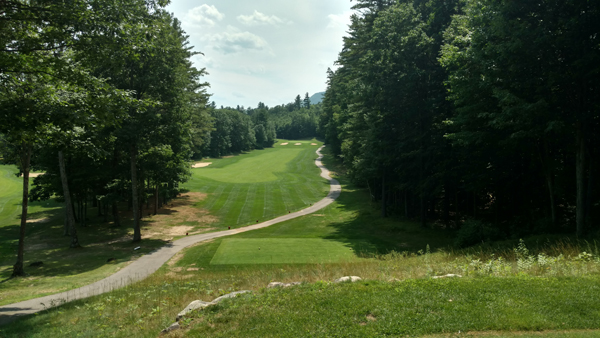
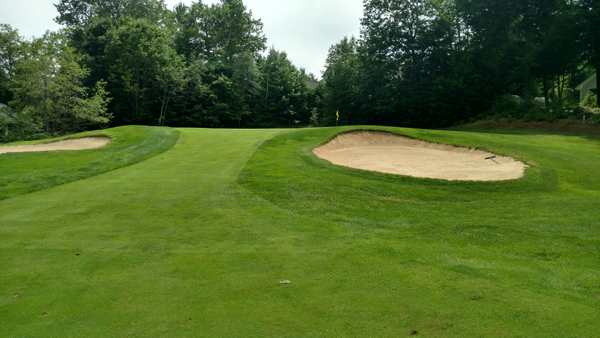
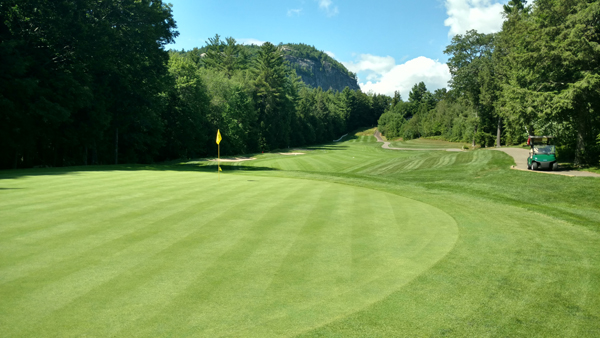
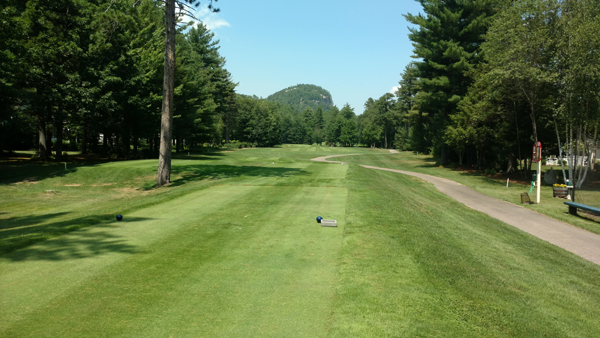
Hole 5
Moat View – Par 5
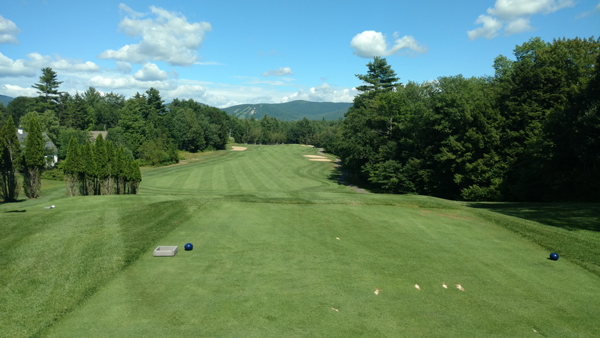
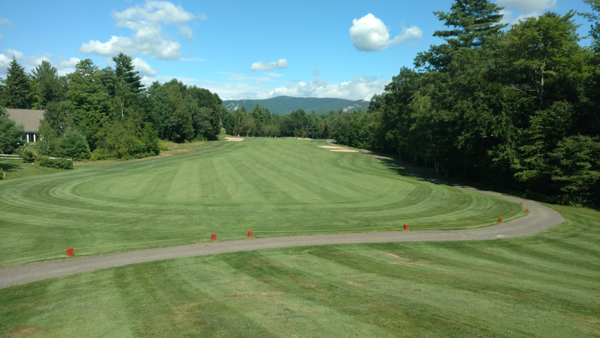

Description
A long, but stunning hole with views all around. Make sure to stay away from the fairway bunkers here and play to the center or left, as the right side of the fairway does slope at points. The green is heavily protected with bunkers and a natural slope, but once on the green it is pretty true. As you make your putt, make sure to look back to the tee boxes for a stellar view of the Moat Mountain Range.
Stats
Blue: 481
White: 458
Green: 445
Gold: 443
HCP: 3
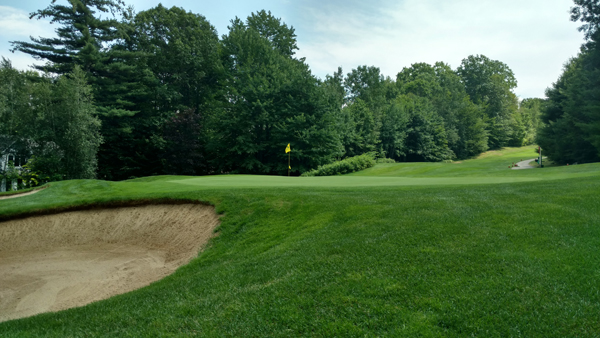
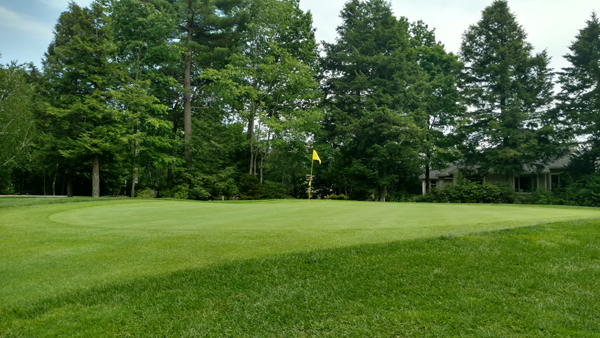
Hole 6
Birches – Par 3

Description
Our pro suggested years ago to add another 5-10 yards onto this hole, reason being is that it is all carry. The trap in the front is not right next to the green so it makes it look a little shorter than it is. Try taking an extra club on this one. There is a severe slope at the front of the green.
Stats
Blue: 138
White: 124
Green: 122
Gold: 120
HCP: 17
Hole 7
Fox Run – Par 4


Description
Pro tip: Hit a mid iron or fairway wood, get it down to the 150 yard marker. Many players end up out of bounds because of the homes that line this fairway. It is not really a difficult hole, as long as you follow the pro's tip. Traps come into play on the right and left with your tee shot. You are hitting down into the green. You will hit one less club than you think because you are hitting down hill. There are a couple more traps on both the right and left at this green.
Stats
Blue: 353
White: 329
Green: 311
Gold: 308
HCP: 11
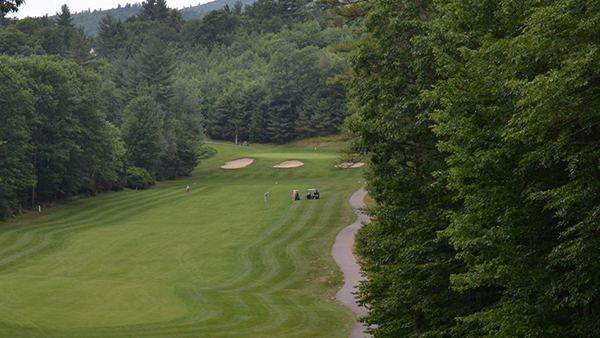
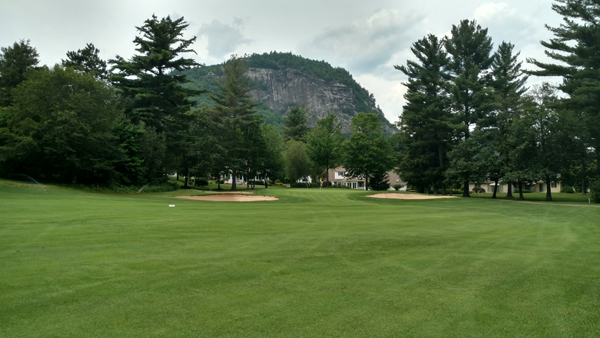
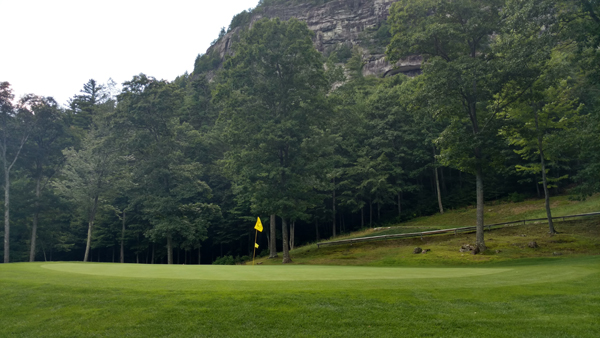
Hole 8
White Horse – Par 4

Description
This is one of Hale’s signature holes. You are looking straight out at Cathedral Ledge, amazing views, flowers on the tee box, and stately homes to the left and right. On the right side there are tall pine trees that may help you keep the ball in play. Left side has a bunker. On approaching the green there are two sand traps on the left, but the right side is open. You will want to play your approach shot to the right side. The green is uphill so give it a little more when putting from the front. This can be a very difficult hole when the pin is in the back.
Stats
Blue: 385
White: 358
Green: 328
Gold: 326
HCP: 7
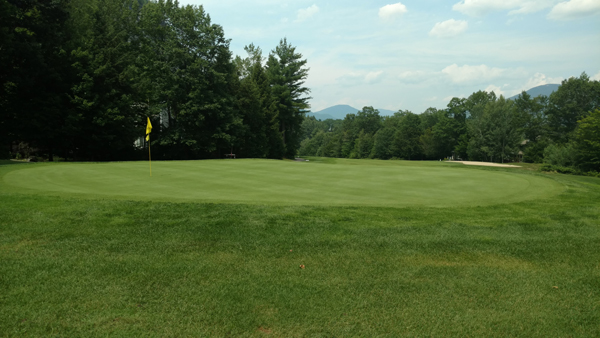
Hole 9
Ledge View – Par 4


Description
Great views are abundant for the finale; White Horse Ledge to the left, Cathedral Ledge straight ahead, and to top it all off a wonderful view of the White Mountain Hotel & Resort as you approach the green. The right of this fairway gives you a little more room. Lots of woods on the left that are not out of bounds. There is a fairway bunker that won’t be a problem for the long hitters. Beware those of you who do not hit it as far, as the bunkers will certainly play a role. If you hit over 230, the boundaries will come into play as it does narrow up, but if you can keep this one up the middle you will have a nice little wedge or 9 iron to the green. Elevated green with traps on the right and left in the front. Be sure to take that extra club as you are hitting uphill. No out of bounds beyond the green. Sloped green that goes from the back to the front.
Stats
Blue: 362
White: 332
Green: 265
Gold: 263
HCP: 9